Intellij Spring - Spring MVC + Maven 프로젝트 만들기
1 minute read
Spring MVC + Maven 프로젝트 만들기
-
Maven 프로젝트 생성
-
Create New Project
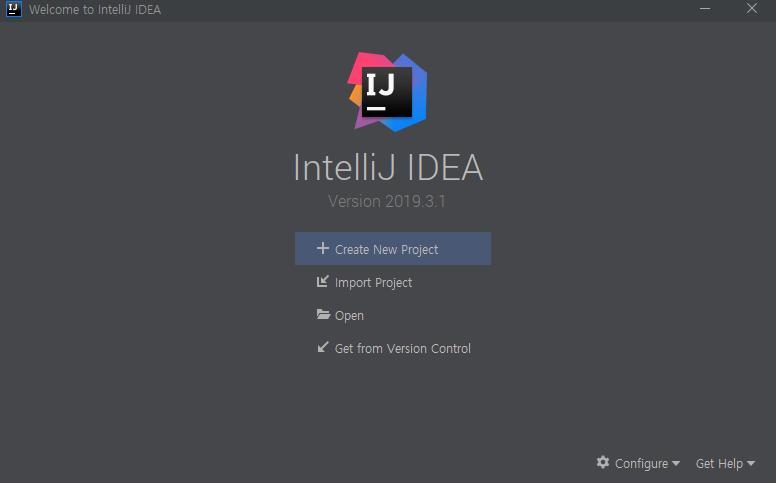
-
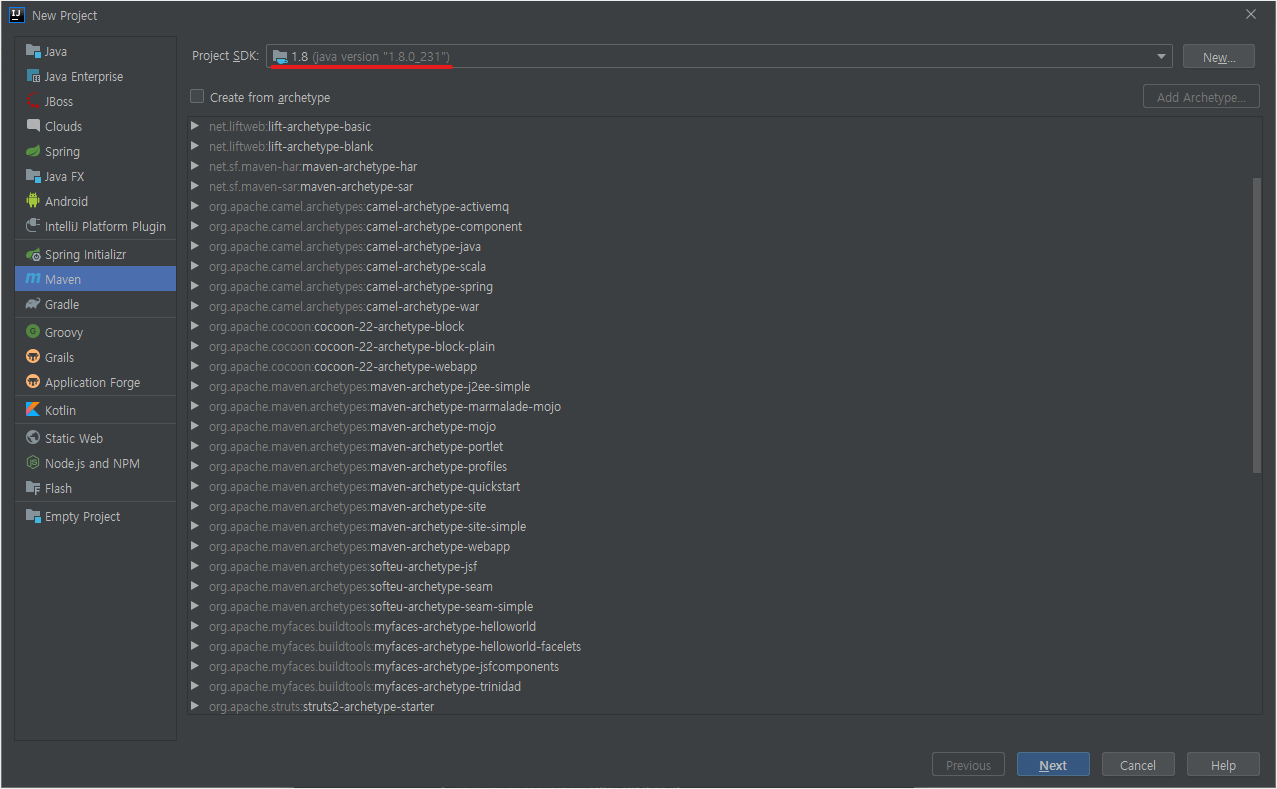
Maven 선택 -> java version 선택 -> Next -> 프로젝트 생성
-
Spring MVC 추가
-
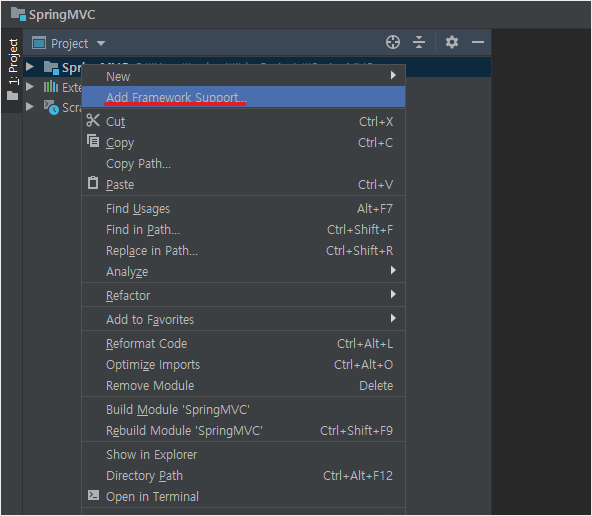
프로젝트 우 클릭 -> Add Framework Support.. 클릭
-
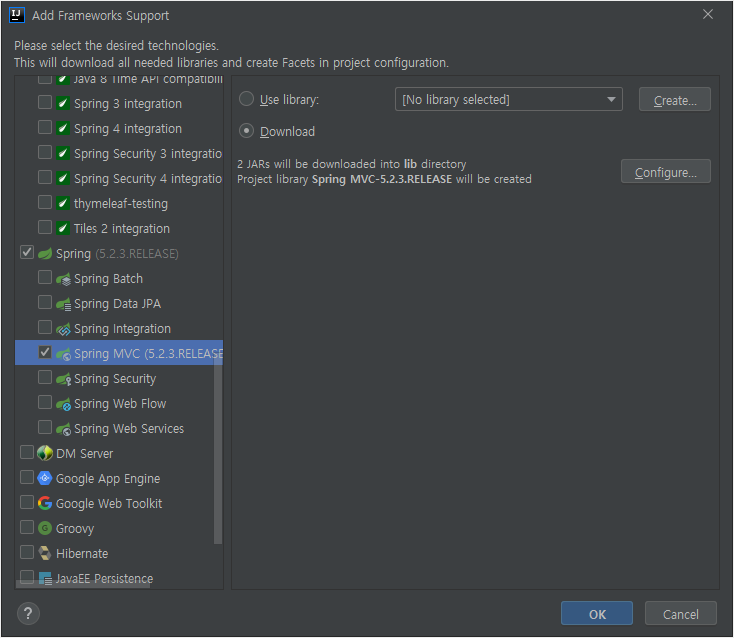
Spring MVC 선택 -> OK
-
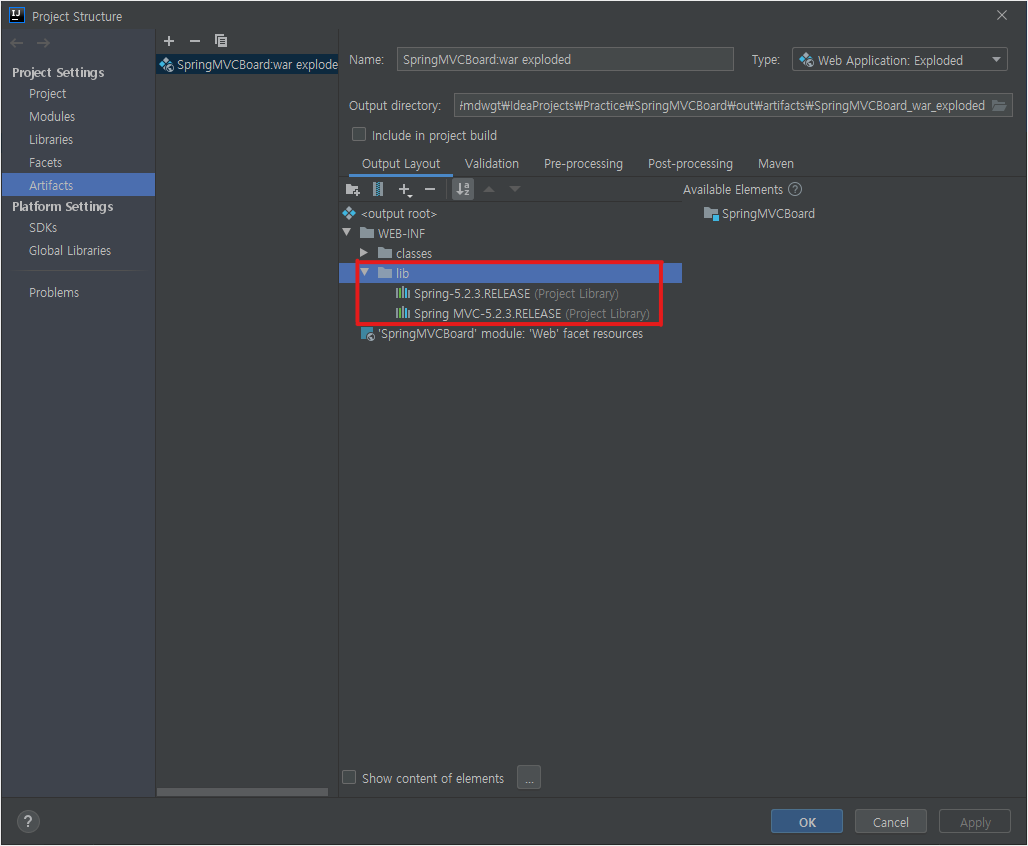
Artifacts 설정

-
Controller 생성
  package com.ex.spring.controller;

  import org.springframework.stereotype.Controller;
  import org.springframework.web.bind.annotation.RequestMapping;

  @Controller
  public class MController {
          @RequestMapping("/index")
          public String home(){
                  return "index";
          }
  }
-
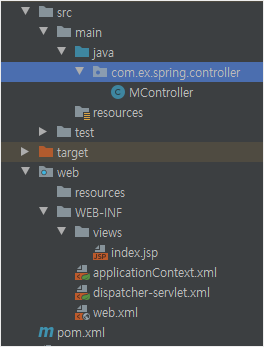
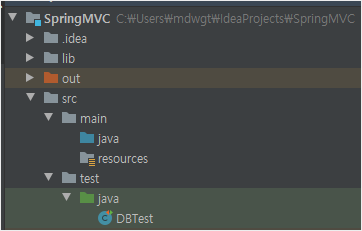
디렉터리 구조
-
xml 파일 설정
web.xml
  <?xml version="1.0" encoding="UTF-8"?>
  <web-app xmlns="http://xmlns.jcp.org/xml/ns/javaee"
                   xmlns:xsi="http://www.w3.org/2001/XMLSchema-instance"
                   xsi:schemaLocation="http://xmlns.jcp.org/xml/ns/javaee http://xmlns.jcp.org/xml/ns/javaee/web-app_4_0.xsd"
                   version="4.0">
          <context-param>
                  <param-name>contextConfigLocation</param-name>
                  <param-value>/WEB-INF/applicationContext.xml</param-value>
          </context-param>
          <listener>
                  <listener-class>org.springframework.web.context.ContextLoaderListener</listener-class>
          </listener>
          <servlet>
                  <servlet-name>dispatcher</servlet-name>
                  <servlet-class>org.springframework.web.servlet.DispatcherServlet</servlet-class>
                  <load-on-startup>1</load-on-startup>
          </servlet>
          <servlet-mapping>
                  <servlet-name>dispatcher</servlet-name>
                  <url-pattern>/</url-pattern>
          </servlet-mapping>
  </web-app>
dispatcher-servlet.xml
  <?xml version="1.0" encoding="UTF-8"?>
  <beans xmlns="http://www.springframework.org/schema/beans"
               xmlns:xsi="http://www.w3.org/2001/XMLSchema-instance"
               xmlns:context="http://www.springframework.org/schema/context"
               xmlns:mvc="http://www.springframework.org/schema/mvc"
               xsi:schemaLocation="http://www.springframework.org/schema/beans http://www.springframework.org/schema/beans/spring-beans.xsd http://www.springframework.org/schema/context https://www.springframework.org/schema/context/spring-context.xsd http://www.springframework.org/schema/mvc https://www.springframework.org/schema/mvc/spring-mvc.xsd">

          <mvc:annotation-driven/>

          <mvc:resources mapping="/resources/**" location="/resources/"/>

          <bean class="org.springframework.web.servlet.view.InternalResourceViewResolver">
                  <property name="prefix" value="/WEB-INF/views/"/>
                  <property name="suffix" value=".jsp"/>
          </bean>

          <context:component-scan base-package="com.ex.spring.controller"/>
  </beans>
-
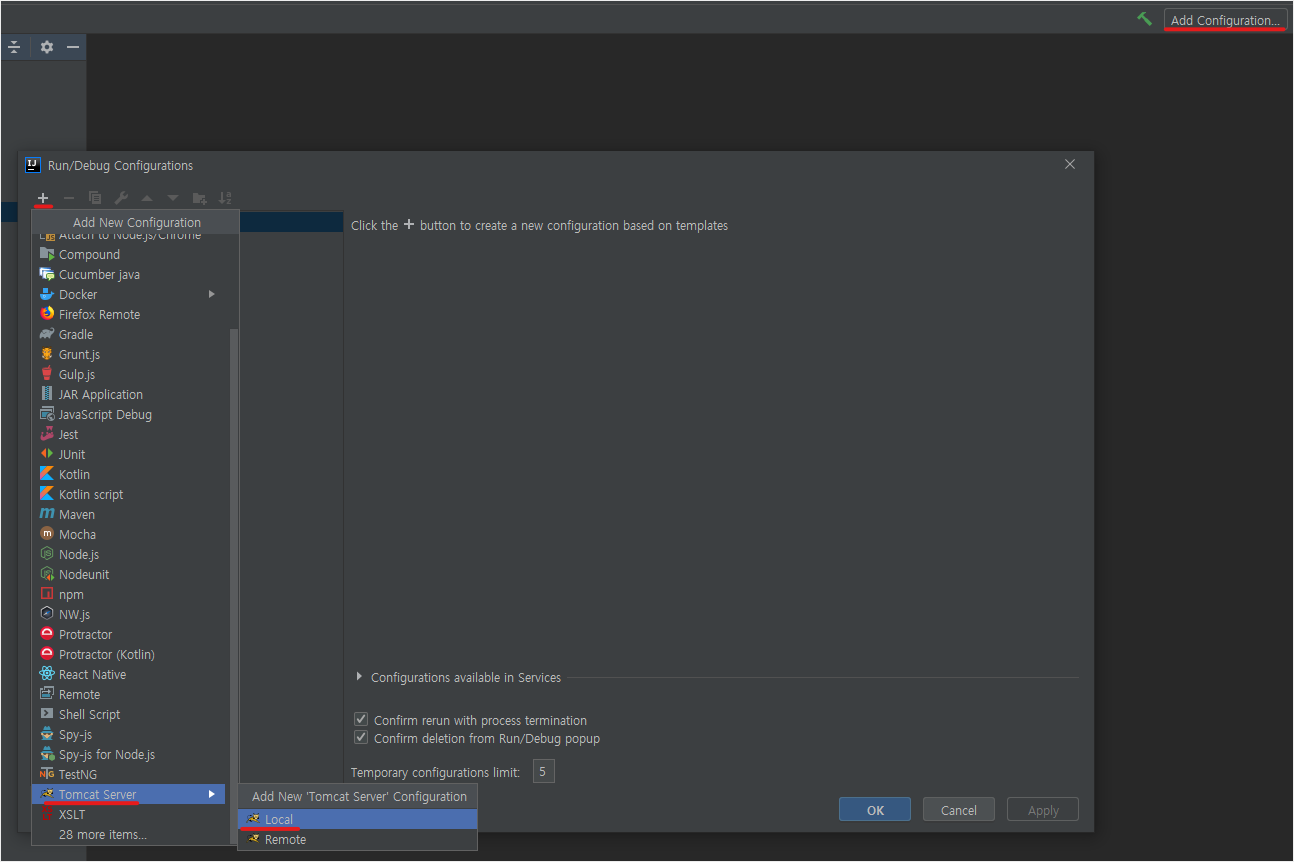
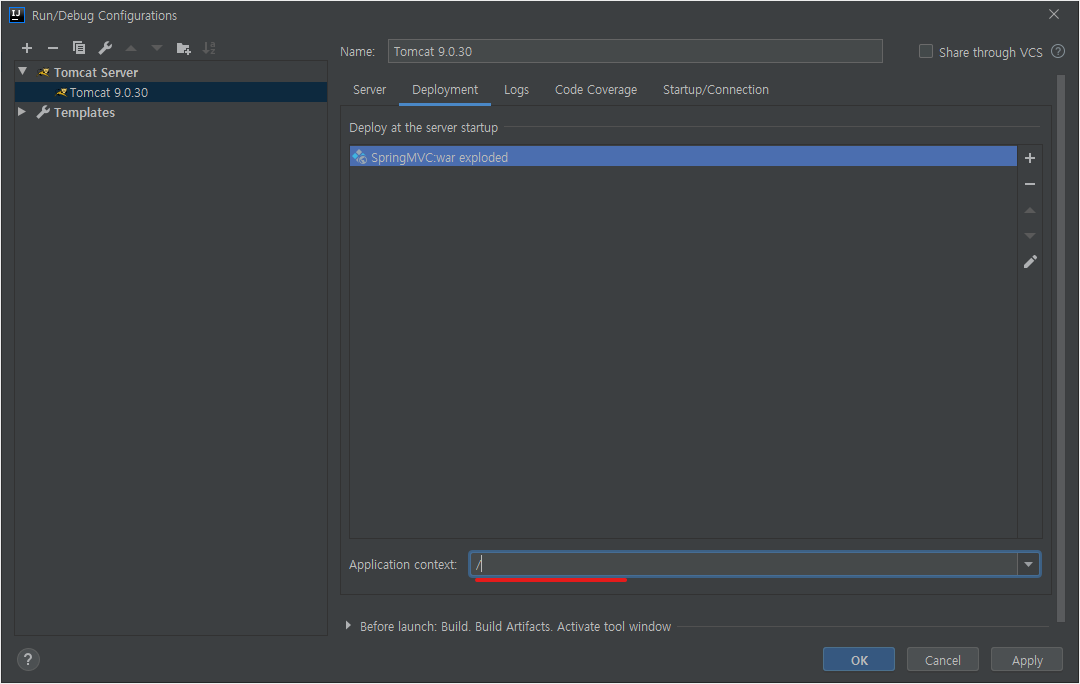
Tomcat 연동
-
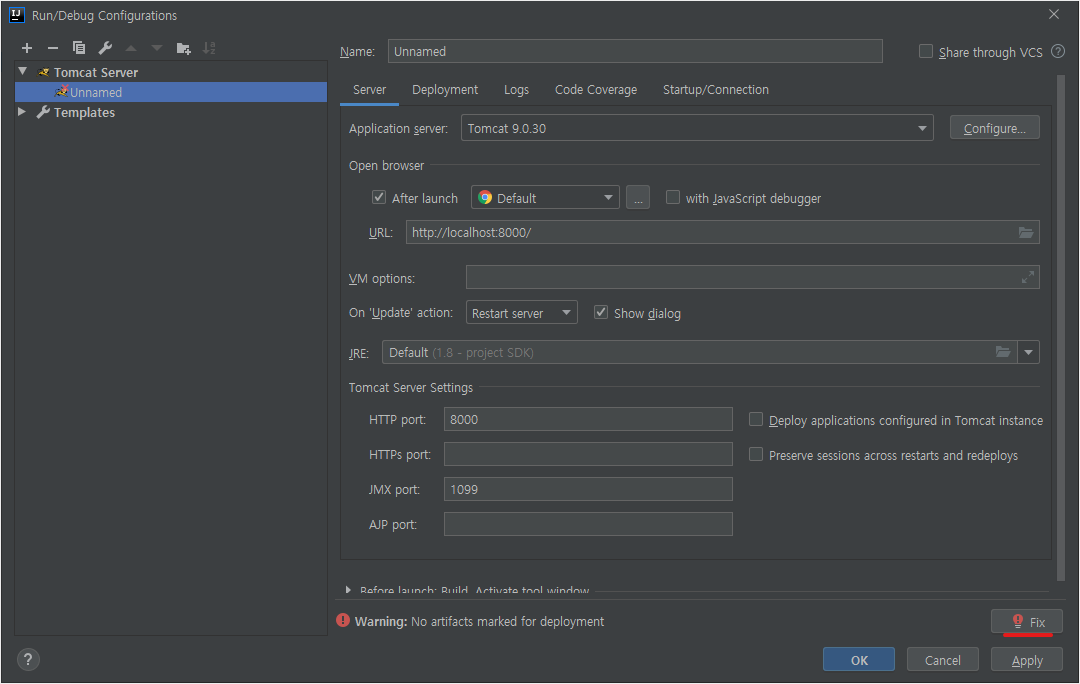
Add Configuration -> Add New Configuration -> Tomcat Server -> Local 선택
-
Fix -> Application context 를 /로 수정
-
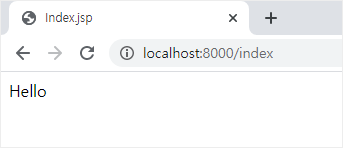
index 화면
-
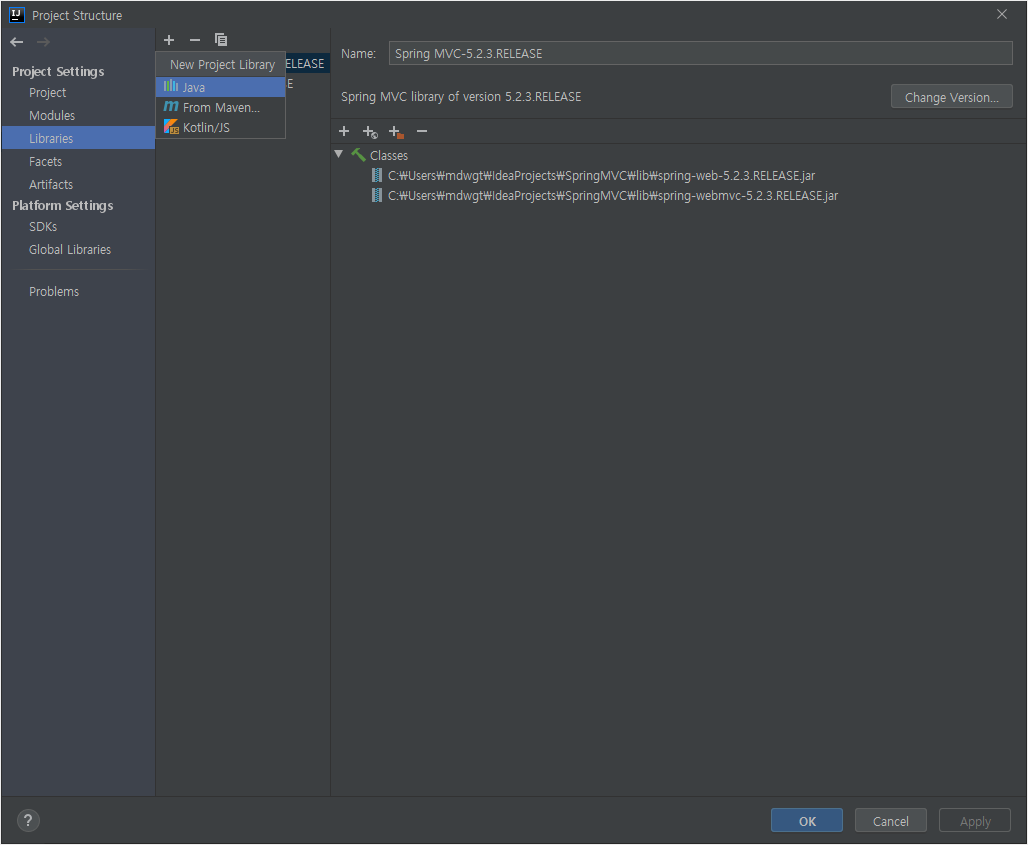
MySQL 연동
-
Project Structure (Ctrl + Alt + Shift + S) -> Libraries -> New Project Library -> Java
-
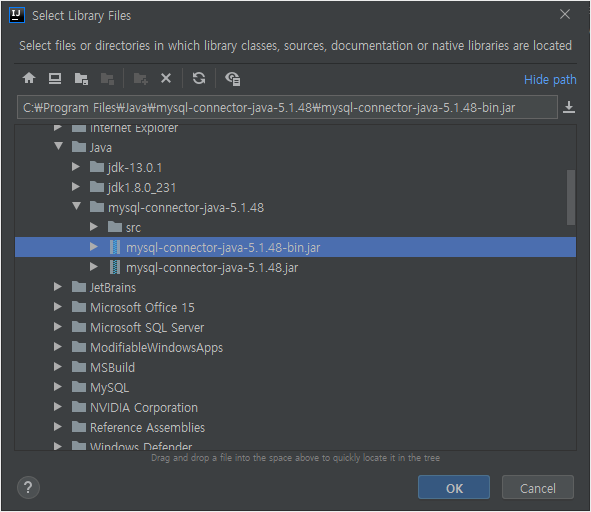
mysql-connector-java-5.1.48-bin.jar를 추가 -> OK
-
JDBC Test
-
DBTest.java
  import org.junit.jupiter.api.Test;

  import java.sql.Connection;
  import java.sql.DriverManager;
  import java.sql.PreparedStatement;
  import java.sql.SQLException;

  public class DBTest {
          @Test
          public void test() throws SQLException {
                  PreparedStatement pstmt = null;
                  Connection conn = getConnTest();
                  String query = "CREATE TABLE USER(ID VARCHAR(20) PRIMARY KEY, PW VARCHAR(2))";
                  pstmt = conn.prepareStatement(query);
                  pstmt.executeUpdate();

                  pstmt.close();
                  conn.close();
          }

          public Connection getConnTest() {
                  try {
                          String dbURL = "jdbc:mysql://localhost:3306/SPRING";
                          String dbID = "root";
                          String dbPW = "1234";
                          Class.forName("com.mysql.jdbc.Driver");
                          return DriverManager.getConnection(dbURL, dbID, dbPW);
                  } catch (Exception e) {
                          e.printStackTrace();
                  }
                  return null;
          }
  }
-
USER 테이블이 추가 됨
Leave a comment